


In the previous article we explained what is microgreens, today we talk about how to grow microgreens. Growing microgreens at home is very simple and can be done without special equipment or without a gardening background. Fresh microgreens are an excellent choice for salads, sandwiches and wrapping paper, and then fried into hash or stir-fry. You can choose any of your favorite green vegetables from kale to arugula to radish to create your own perfect miniature green mixture.
Can I grow microgreens without soil?
In the tutorial here, it is recommended to use soil, because most people have easy access to soil, but it is certainly possible to use it without soil. Because these plants do not grow for long, they do not need long-term soil nutrition. A common alternative to soil is to use hydroponic growth mats or coconut coconut shells.
How many hours of light should microgreens get?
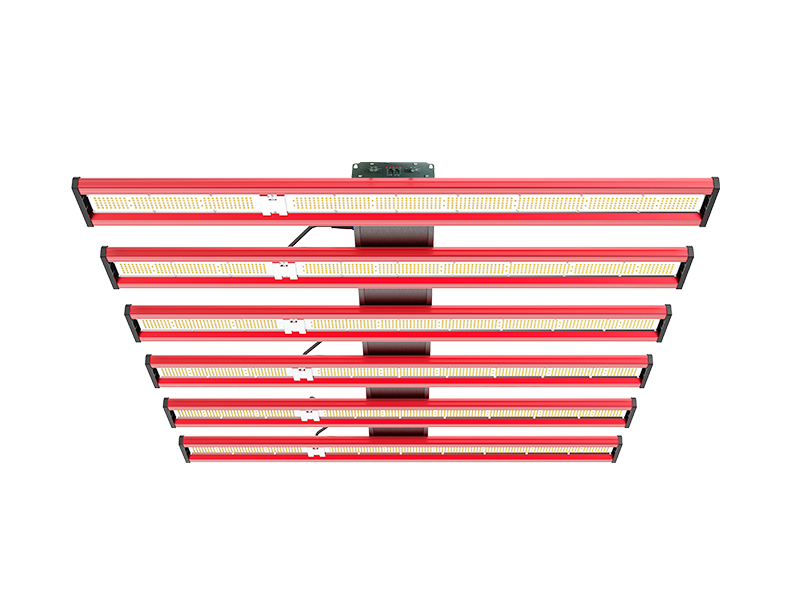
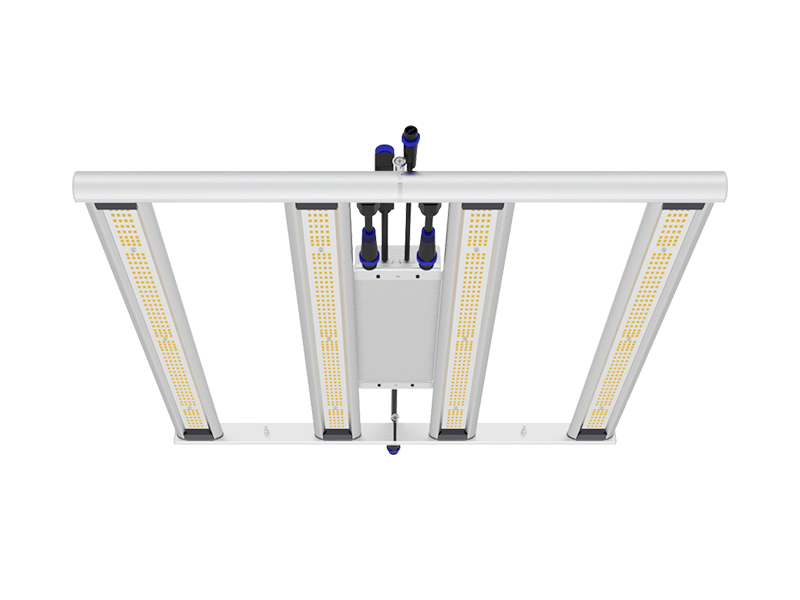
The microgreens are very flexible and can grow well on sunny windowsills. In order to get maximum growth, you need 4-6 hours of sunshine per day, but if you do not have enough sunlight, you can use a LED grow light as a supplement. We use these plant grow lights in a cool house at the same time, they are very suitable for growing mini vegetables and indoor plants.
Can I grow microgreens outdoors?
Of course. As long as the weather is warm and sunny enough, you can grow them in outdoors. Since these plants are very small, I recommend planting them in a place that is protected from the wind and rain. Most of the microgreens you grow are cool crops, so if the temperature is high, you should remove them to indoors.
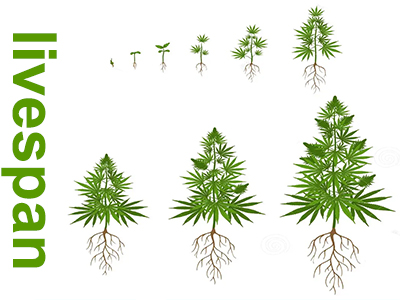
How long does it take for microgreens from seed to harvest?
The wonderful thing is that you can harvest them in just 10 days. Some seeds take longer to germinate and grow, but in general, I find that 10-12 days is the best place for microgreens to grow.
How many times can I harvest microgreens?
Because you want to cut off the top of the entire microgreens, so it only be harvested once. However, since you can pack them tightly in growing containers, you can cut and harvest as needed-no need to harvest and eat all at once! We usually grow microgreens in standard 1020 garden trays, and then harvest a week of salads and stir-fry from one tray.
What materials are needed to grow microgreens?
To grow microgreens, you need seeds, soil, trays, light sources and water.
Microgreens seeds: You can buy regular vegetable seeds from the store and use them for germination, but many companies offer special microgreen seed mixtures, which is a good choice for beginners. They have a variety of tastes, textures and nutrition. I really like the slightly greenish mixture of Johnny Seeds. If you don’t want to mix it, then coriander, kale, radish, basil, spinach, and beets are good seeds.
Soil: You can snap up any potting mixture or garden soil from the store. I personally want to avoid soil with fertilizers-I want to keep microgreens as organic as possible. Some people grow microgreens (similar to sprouts) without soil, but I have found that planting them in soil can give them the best flavor and make them grow the most easily.
Tray: You need something to grow microgreens. We use conventional seed start trays-which can be used by most garden centers and hardware stores-but to be honest, you can use almost everything. These greens don’t stay there for long, so they don’t have to be special. Check your recycling box carefully-a plastic tote bag, a berry container or an egg carton can all solve the problem. Just make sure to poke a few holes in the bottom of any product you use to drain.
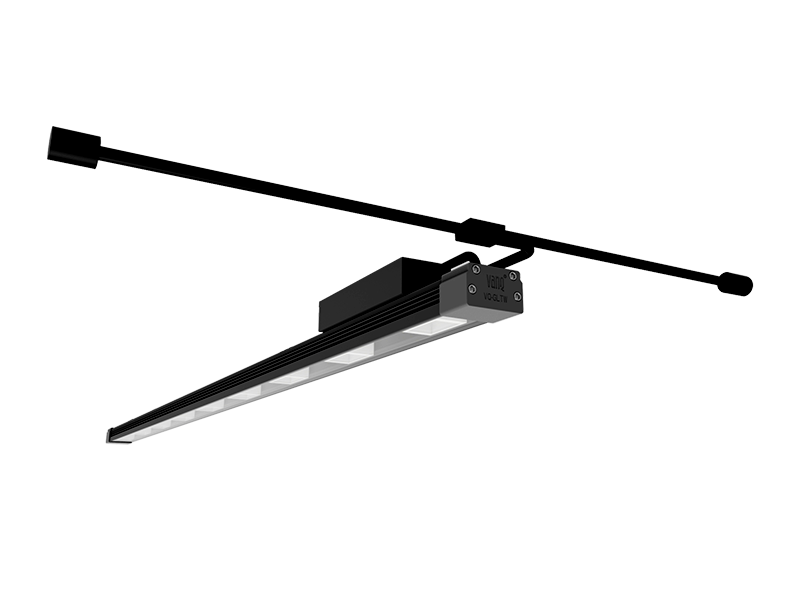
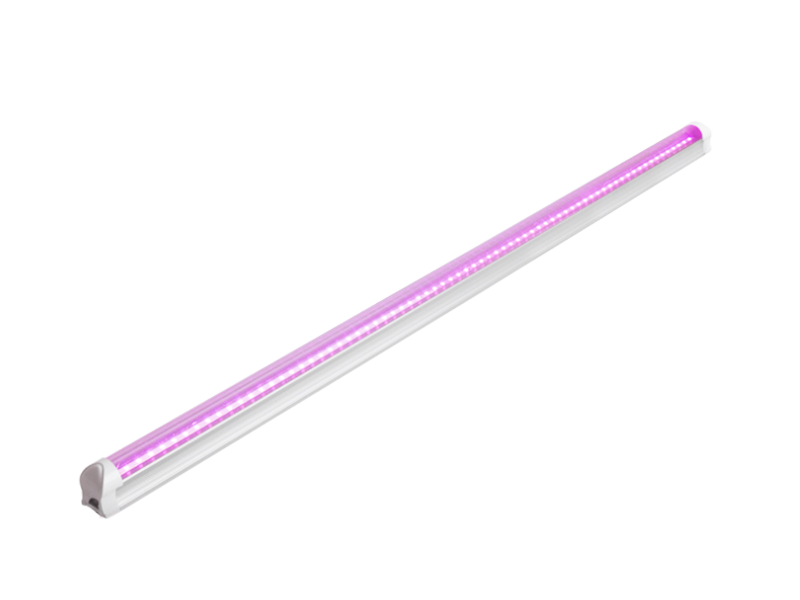
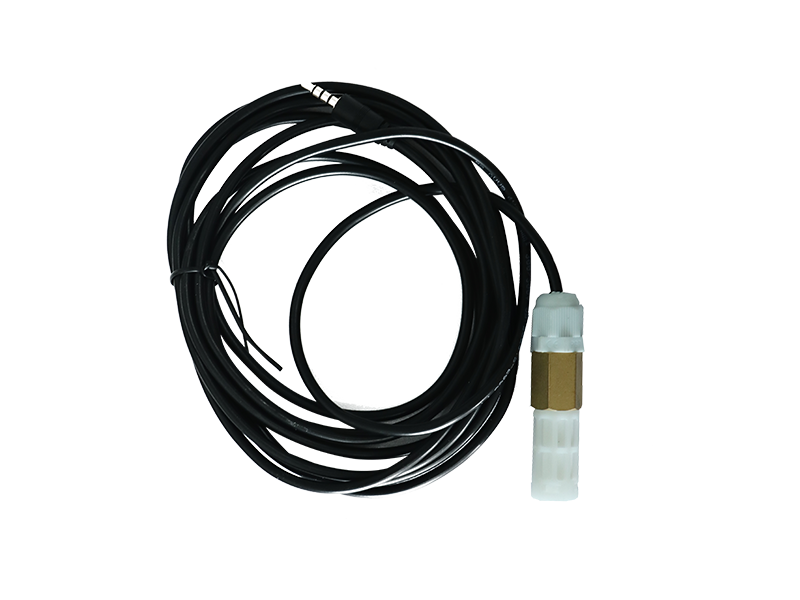
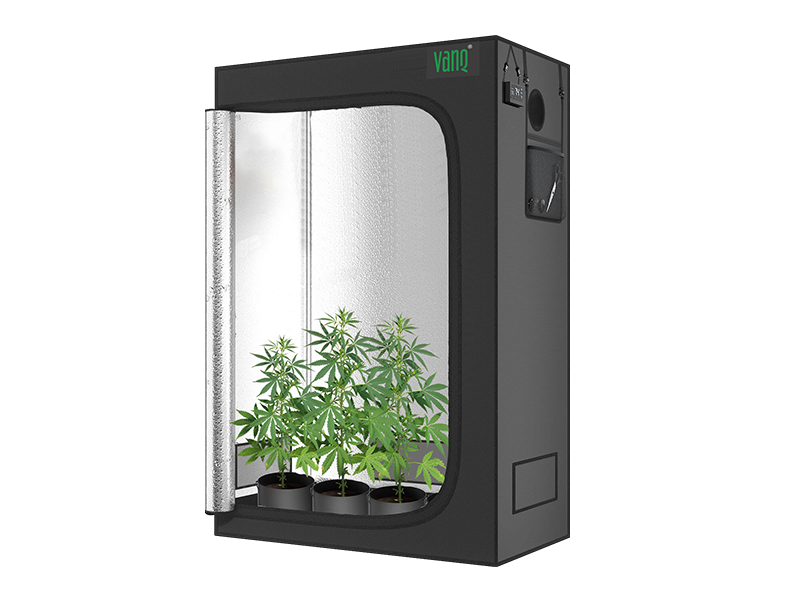
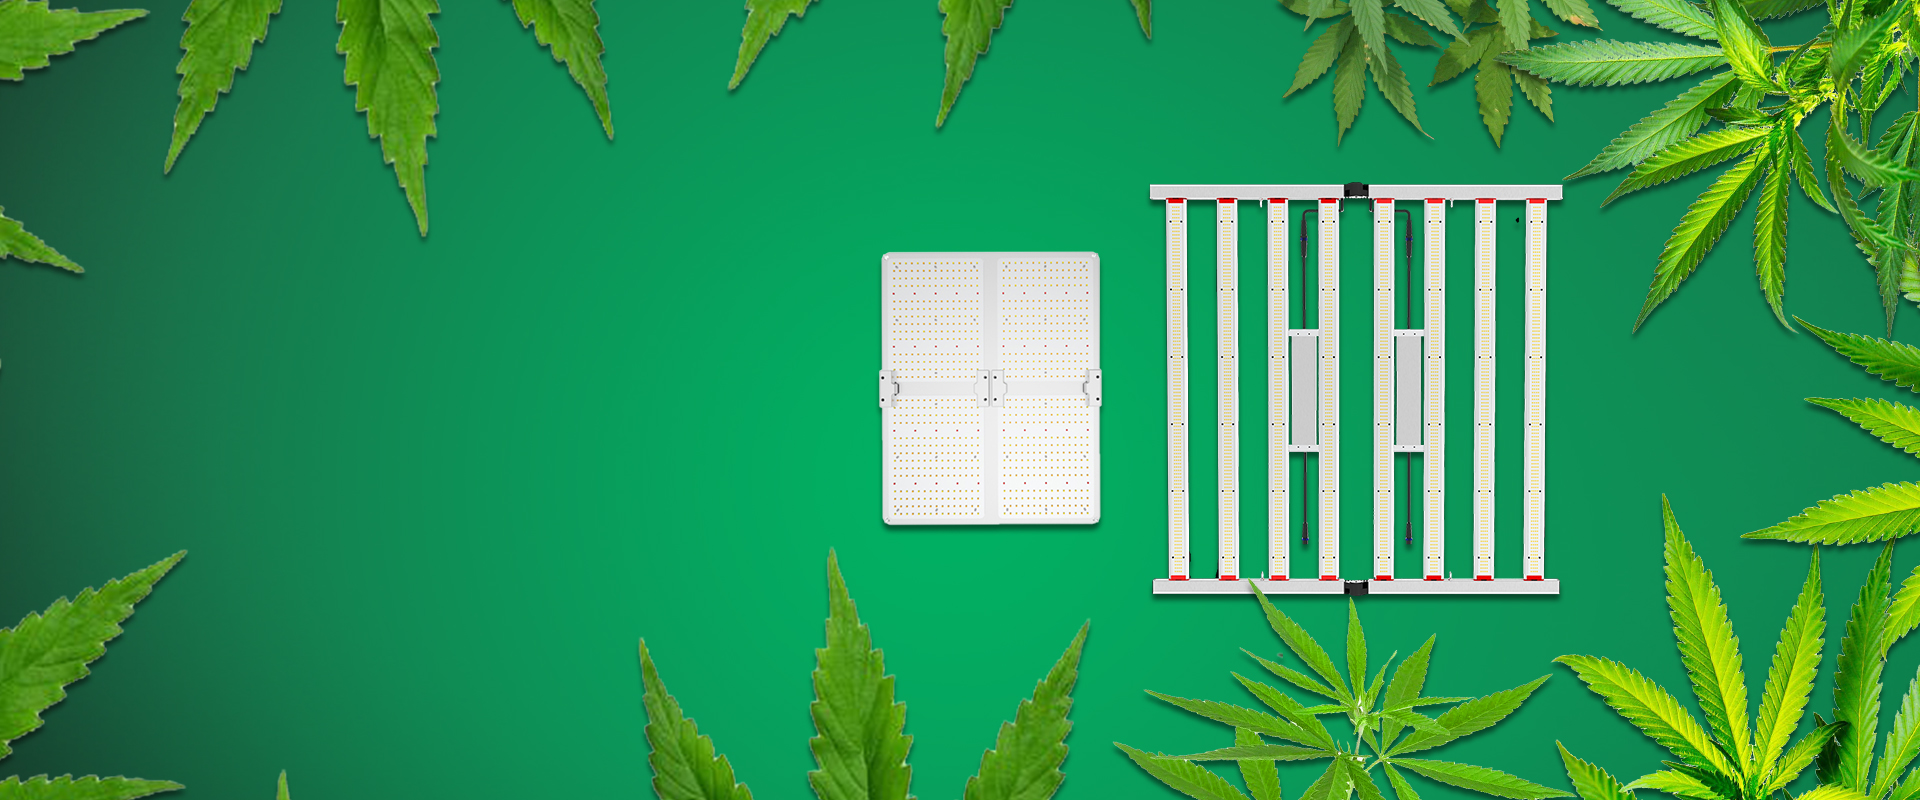
Light source: There are two solutions-natural method or artificial method. Naturally, all you need is a sunny window. If all your windows are blocked like ours, you need to use a LED grow light to replicate the sun. We have used these VANQ LED T8 grow lights to grow microgreens with great success.
Water: Water: I recommend using a spray bottle for miniature greens.

How to grow microgreens?
Step 1 – Fill the tray with soil. Since these plants do not stay there for long periods (9-12 days), they do not develop very complex root systems, which means you do not need a lot of soil. Two inches should be more than enough.
Step 2 – Sow the seeds on the soil surface. No need to worry about making it completely uniform or evenly distributed. Unlike planting full grown plants, you don’t have to worry about overcrowding of green plants.
Step 3 – Sprinkle the seeds with soil. You are just looking for light coverage here. There is no need to be perfect. You don’t have to cover all the seeds completely.
Step 4 – Then hold your hand and gently press down on the entire tray to put the seeds into the new home.
Step 5 – Water the seeds. Spray bottle for later use, it is time to use the fog option on the spray can or hose sprayer. You do n’t want them to swim in the water, but you do want them to be very wet.
Step 6 – Then place the tray in a sunny place and wait! Or, if you put them under growing light, put them directly under the light. The distance of the grow light to the tray depends entirely on the type and intensity of the light you used. (How Far Should LED Grow Light Hang On Plants) Please check the instructions attached to the indicator for more information. It is important to note that many seeds used in miniature greens are germination devices that determine light, which means that they need to see light in order to send out germination signals. This is why they are covered with only a thin layer of soil and then immediately placed under the light.
How To Choose Your LED Grow Light For Microgreens Growing?
Do I need a heating pad under my microgreens?
Most seeds like to germinate around 70 ° F, so if you want to start the seeds in a cooler place, you may want to consider raising the temperature for a few days while the seeds are germinating, or use a seed starter pad. This is the seed mat we use when planting seeds in a cold basement in winter. No seed starting pad? You can also wrap the heating pad in a trash bag and place it under the tray when it germinates—just make sure to move the tray into the water and let it drain completely before placing it on the heating pad.
Most microgreens grow happily at lower temperatures (if the temperature is below 50 ° F, you may see slow growth), so there is no need to keep the heating pad or heating pad running after germination.
How many times should I water my microgreens?

Sprinkle the tray with a watering can several times a day. If you see some green vegetables growing in an irregular way, try rotating the tray every few days so that all sides can be equally exposed to light. Seeds close to light (especially in sunny windows) may grow faster than seeds farther away.
After about three days, you will see some seeds germinate. First, two small round leaves will pop up, which are extra food reserves for the seeds to keep germinating.
After a few days, you will see more seeds sprouting, and then the real leaves begin to emerge. These actually look like the plants you are used to, although they are small but cute.
After a little over a week, you will get a complete tray filled with beautiful microgreens. You can choose to harvest at any time after the true leaves appear.
How to harvest microgreens?
There are two common ways to harvest microgreens.
First way: You can pull the green and throw away excess soil. You need to dry the soil for proper disposal, so please stop watering a few days before harvest. Then, on the harvest day, pull up the green and throw away the excess soil. Depending on the type of green, removing every ounce of soil can be tricky. This is not my favorite way of harvesting.
Second Way: My best harvesting method is to trim the microgreens with sharp kitchen scissors above the soil line. You have lost some plants, but you have saved a lot of trouble in removing soil.
After harvesting, the greens are washed for 3-4 cycles to ensure that they are completely immersed in cold water each time. Then, spread them on a towel and dry them slightly (a salad rotator will work too). To store, wrap the greens in paper towels and place them in an airtight container in the refrigerator.
Then you can compost the soil and you can start over! Or, if you are really in the most important position, you can place multiple trays at the same time. I found that starting a tray every week worked well for us, it took about a week to harvest from a tray.
Enjoy growing at home.